Use of forks
Code development is not done on the XGC repositories directly but rather on forks of those repos. A fork shall be created by each developer for the projects the developer leads. A fork is owned by the user who created the fork. Upon creation of a fork, users that have access to the parent repo of a fork will have the same privileges on the fork. The fork owner can restrict access to the fork to a smaller team of developers if necessary. However, never revoke the privileges of the “XGC Admins” team. To create a fork, simply click on the “Fork” button at the top right of the start pages of the XGC-Devel or XGC-Full-f repo.
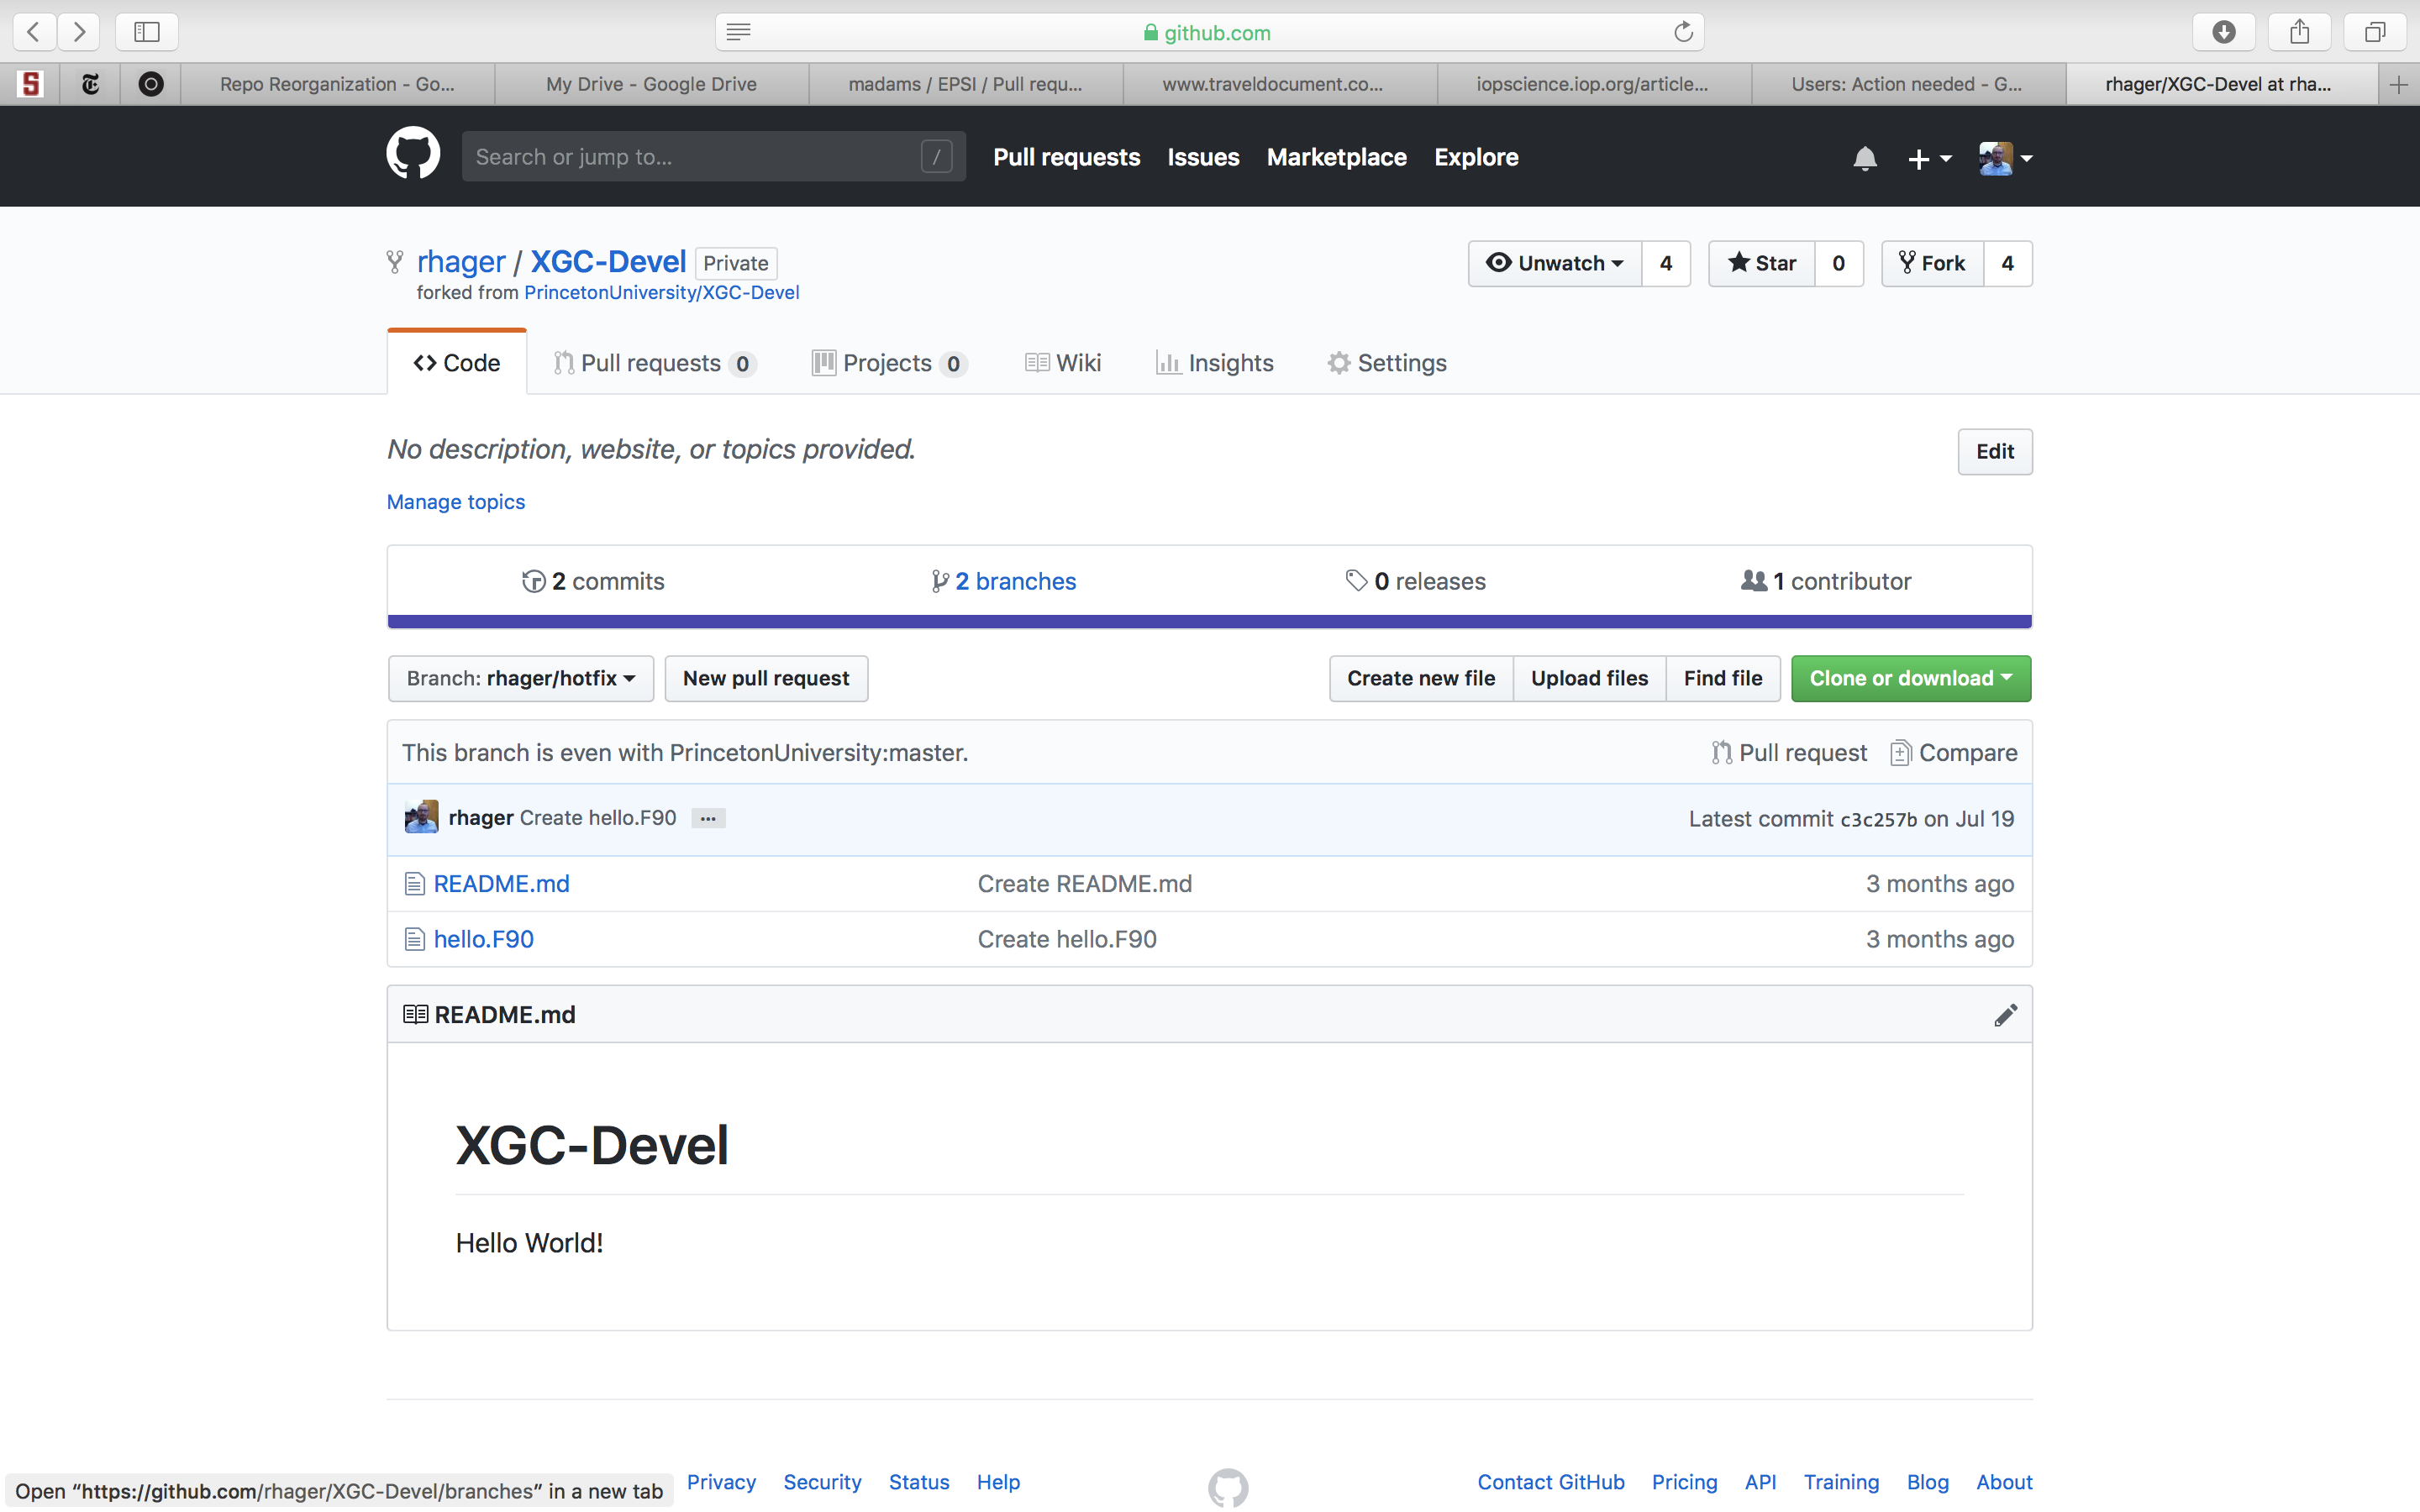
Repository start page. For creating a fork of the repo, click on the “Fork” button top right, which will open a dialog box with some options.
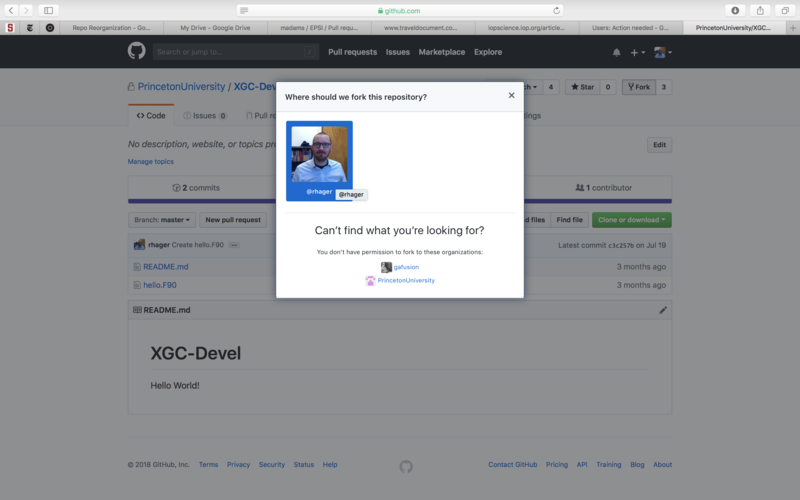
When creating a fork, the user has to decide where to fork the repo. Usually, the choice will be the user’s GitHub account.
For adding or removing users from the fork, switch to the “Settings” tab and select “Collaborators & teams” from the sidebar on the left. There are two options to add users, teams and collaborators. For adding single users, use the “Collaborators” box, for adding teams of users, use the “Teams” box. You can create your own teams here. Aside from simplifying the management of user privileges, the difference between adding collaborators or teams is that members of a team need to be members of the PU organization whereas even GitHub users who are not members of the PU organization can be added as collaborators. Users can then download local working copies of the forks they are working on with git-clone:
git clone https://[username]@github.com/[fork admin]/[repo name].git
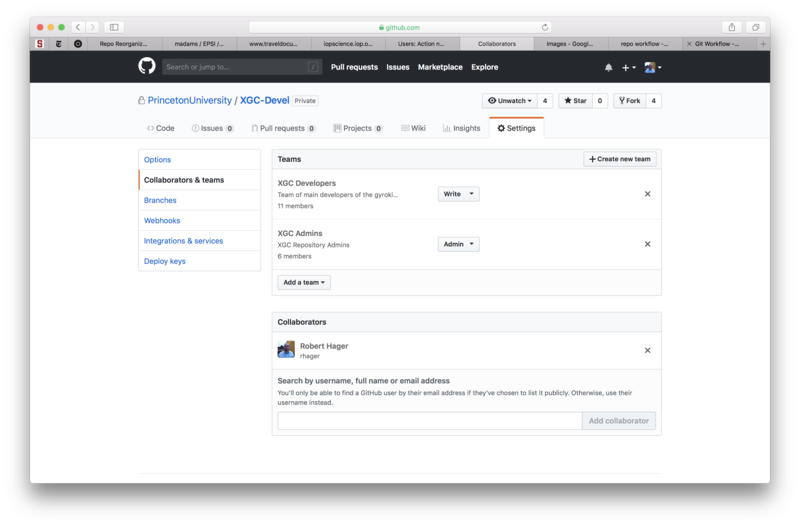
Dialog for access management to repositories. This is accessible only if you have admin rights for a repo. You can add single collaborators or teams of collaborators. You can also create your own teams
After cloning a child repository forked from the parent repository (PrincetonUniversity/XGC-Devel or PrincetonUniversity/XGC-Full-f), it is recommended to add the URL of the parent repository as the additional remote “upstream”. The default remote URL is “origin” and corresponds to the URL of the repo from which a local working copy has been cloned. For XGC-Devel, the git commands are
git remote add upstream https://[your username]@github.com/PrincetonUniversity/XGC-Devel.git
You can check which remotes already exist in your working copy with the command
git remote -v
For example:
[rhager@sunfire02 XGC-Devel]$ git remote -v
origin  https://rhager@github.com/rhager/XGC-Devel.git (fetch)
origin  https://rhager@github.com/rhager/XGC-Devel.git (push)
upstream    https://rhager@github.com/PrincetonUniversity/XGC-Devel.git (fetch)
upstream    https://rhager@github.com/PrincetonUniversity/XGC-Devel.git (push)
Note that remotes are not limited to your own fork and the parent repo. You can add any user’s fork as a remote, e.g., for collaborating on the development on a feature. You can pull from the remotes (and push, if you have writing privileges). When collaborating with other users on a development project, you can use pull requests between user forks in the same way you would between your fork and the parent repo.
Creating forks of forks is not recommended. The fork owner can forbid forking by unchecking the box “Allow forking” in the “Settings” tab under “Options”. If the fork owner wants to allow issue tracking, the corresponding box should be checked in “Settings” → “Options”.
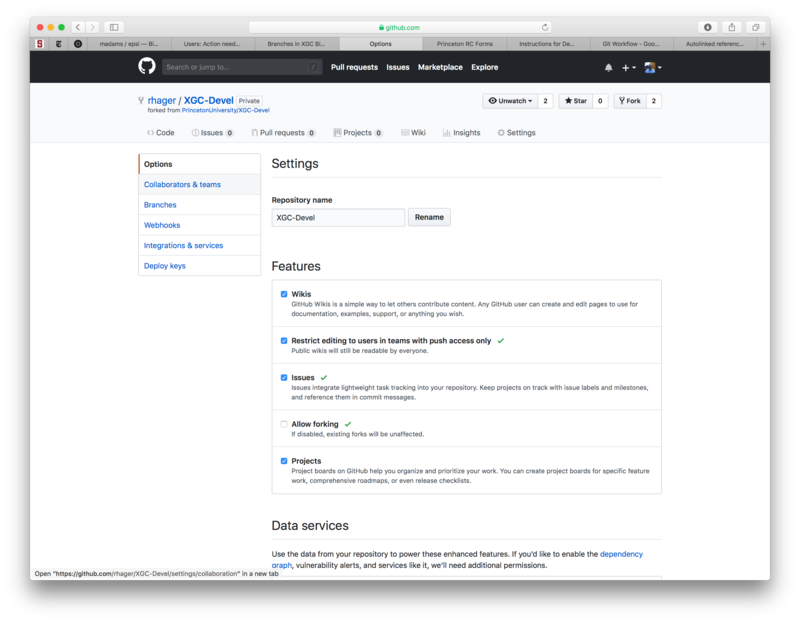
Uncheck “Allow forking” to prevent the creation of forks of forks.